Quick Start
Get FCHub Stream running in 5 minutes. Well, 10 if you've never set up API credentials before.
Install plugin. Add API credentials. Configure upload settings. Test with a video. That's it.
If you've set up API tokens before, this is boring. If you haven't, it's slightly less boring. Either way, video uploads work when you're done. I've timed it. 5 minutes if you know what you're doing. 10-15 if you don't. Still faster than media library.
Before You Start
What You Need
- FluentCommunity installed and running (this plugin is useless without it - I built it for FluentCommunity, not generic WordPress)
- A streaming provider account — Pick one: Cloudflare Stream OR Bunny.net (both work, pick one, don't overthink it)
- API credentials from whichever provider you chose (yes, you need to get these yourself - I can't do that for you)
- 5-15 minutes of patience (depending on your API comfort level - if you've never set up API tokens, add 5 minutes)
Don't have a streaming provider yet? Pause here. Get one first:
Once you have API credentials in hand, come back. I'll wait. (Not literally. But the instructions will still be here.)
Install the Plugin
Download the latest fchub-stream.zip from GitHub Releases. Free. Open source. GPLv2.
Standard WordPress plugin installation:
- Go to WordPress Admin → Plugins → Add New
- Click Upload Plugin
- Choose the ZIP file you downloaded
- Click Install Now
- Click Activate
Once activated, you'll see FCHub Stream appear in your WordPress admin sidebar. If you don't, check for errors:
- WordPress debug log (
wp-content/debug.log) - Look for PHP errors or warnings - Browser console (F12 → Console tab) - Check for JavaScript errors
- Plugin activation errors - WordPress may show errors during activation
Common issues: PHP version too old, missing dependencies, or plugin conflicts.
Requirements: PHP 8.3+ and WordPress 6.7+. I code modern plugins, not relics from 2015. If your server is still on PHP 7.x, upgrade. This is a feature, not a bug. WordPress 6.7+ because I use features that didn't exist in 6.0. Revolutionary? No. Functional? Yes.
What happens after activation:
- Plugin creates database tables for video metadata (I don't ask permission, I just do it)
- Admin settings page becomes available (that's where you're going next)
- REST API endpoints register (for uploads and status checks)
- Portal integration hooks activate (this is how videos appear in FluentCommunity)
You won't see any changes on the frontend yet. Configuration comes next. That's where the magic happens. Or where you paste API keys. Same thing.
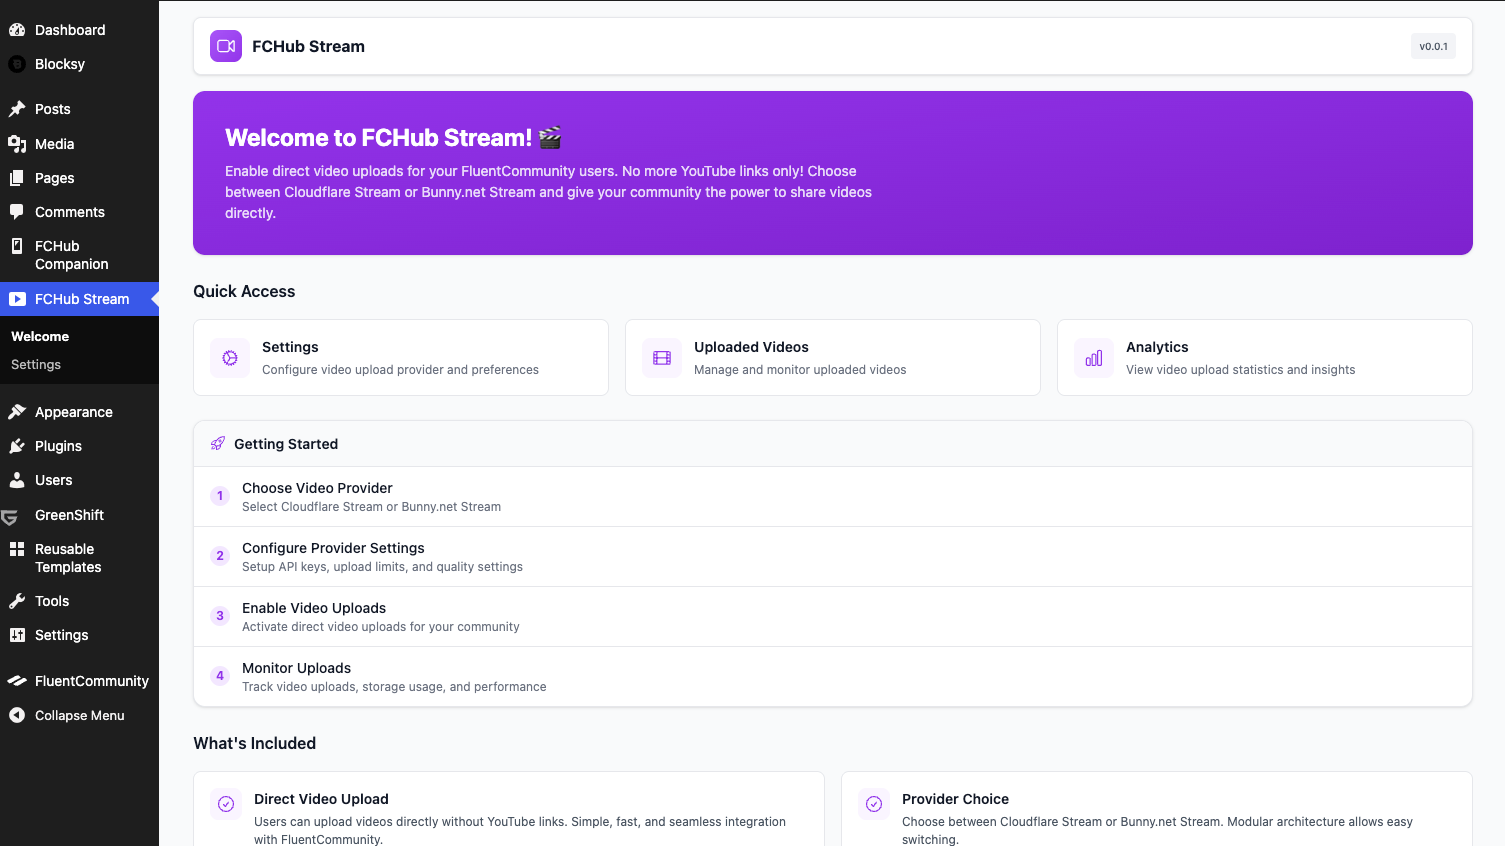
Open Settings & Choose Provider
Navigate to FCHub Stream → Settings in your WordPress admin. It's in the sidebar. You'll find it.
You'll see three configuration sections:
- Cloudflare Stream — Configure Cloudflare Stream credentials
- Bunny.net Stream — Configure Bunny.net Stream credentials
- Upload Settings — File size limits, formats, permissions (configure later, or now, your call)
Pick a provider: You need to configure at least one (Cloudflare OR Bunny.net). You can configure both, but only one can be active at a time. Here's how to decide:
Cloudflare Stream
Good if: You're already using Cloudflare, want global CDN by default, value webhook reliability
Pricing: $5/1000 min stored, $1/1000 min delivered
Bunny.net Stream
Good if: You want cheaper pricing, simpler setup, or aren't using Cloudflare
Pricing: $0.01/GB stored, $0.005/GB delivered (high-volume)
Can't decide? Start with Cloudflare. It's slightly more expensive but much smoother experience. I use Cloudflare. It works. Switch later if you change your mind. The plugin stores configuration for both providers separately. I built it that way.
Getting API credentials:
- Cloudflare Stream setup guide → - Shows exactly where to find Account ID, API Token, and Customer Subdomain
- Bunny.net Stream setup guide → - Shows exactly where to find API Key, Library ID, and Hostname
Once you have credentials, click the Configure button for your chosen provider. That's next.
Add API Credentials
Click the Configure button for your chosen provider (Cloudflare or Bunny.net). This opens the configuration form where you paste credentials. Have them ready. I can't get them for you. That's your job. Provider dashboards are confusing. I know. But you need to do this.
The process: Paste credentials → Click Save & Test → Click Enable → Done. Everything works. That's it.
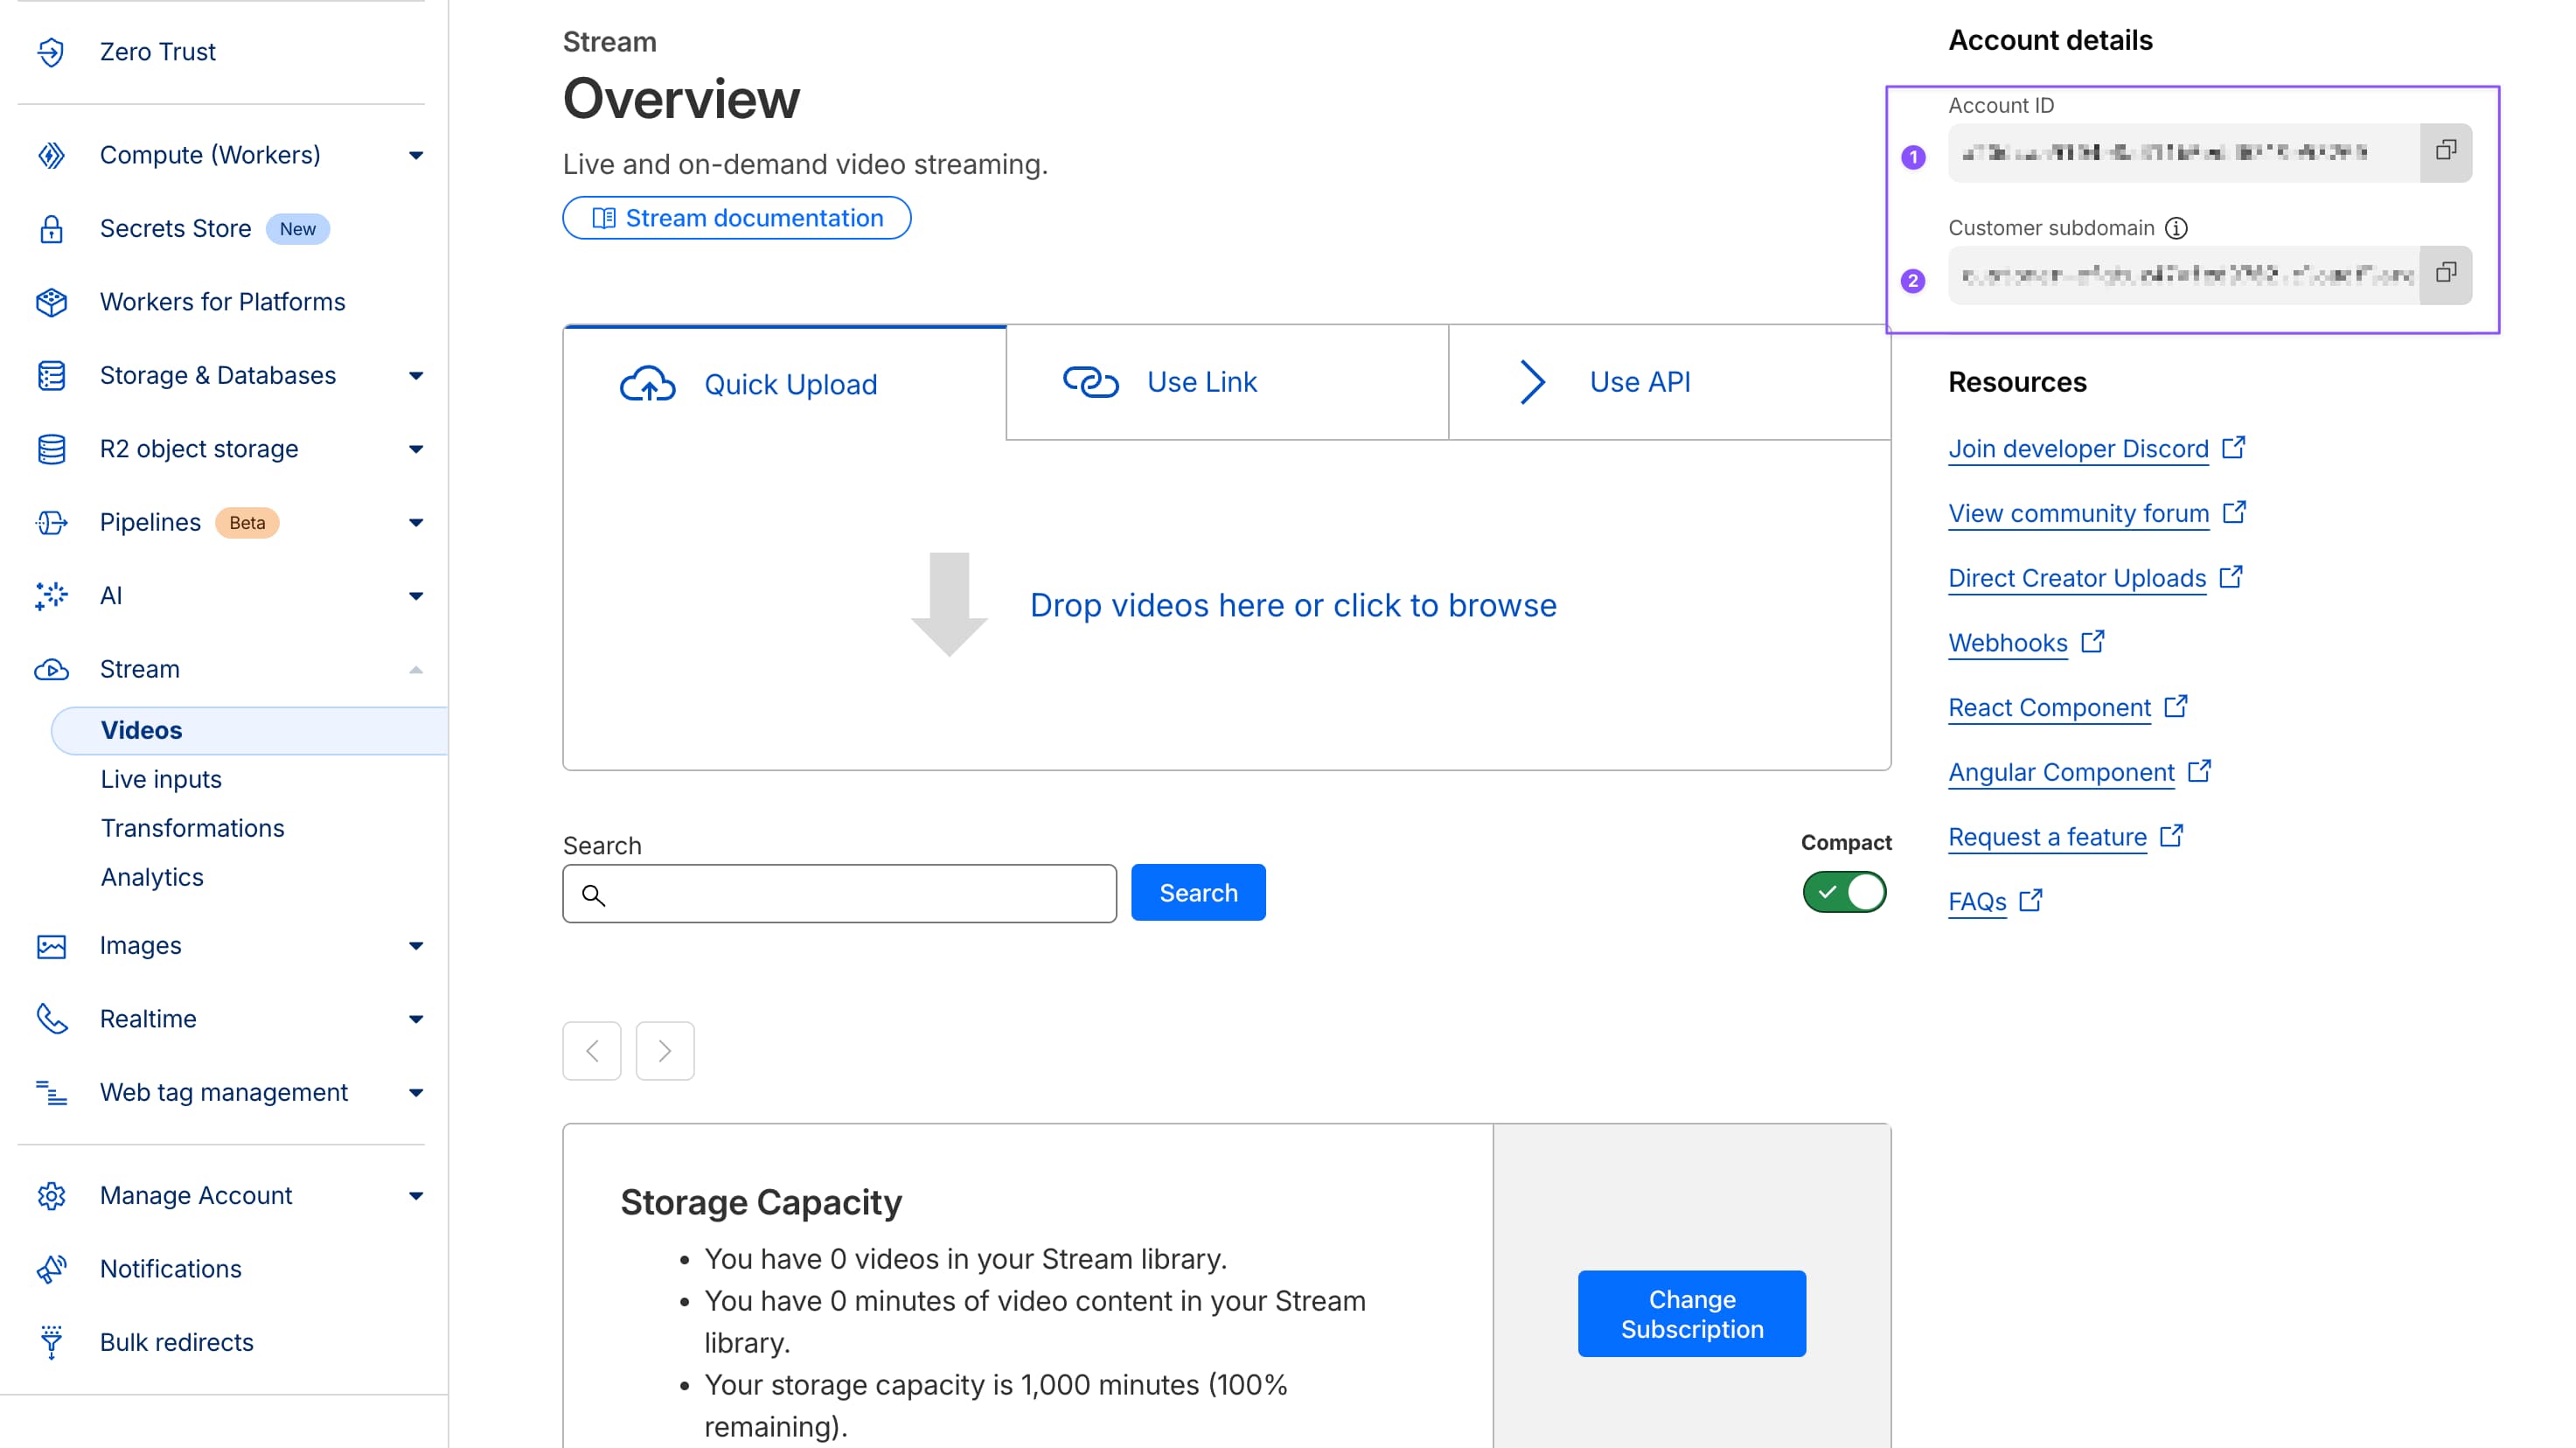
You need three things from Cloudflare:
1. Account ID and Customer Subdomain (required)
- Go to Cloudflare Dashboard
- Click Stream in sidebar
- Account ID and Customer subdomain are displayed at the top of the page
- Copy these. Paste into Cloudflare Account ID and Customer Subdomain fields.
- Don't save yet...
2. API Token (required)
- In Cloudflare dashboard, go to My Profile → API Tokens
- Click Create Token
- Use template: Edit Cloudflare Stream
- Required permissions:
Account.Cloudflare Stream:Edit,Account.Cloudflare Stream:Read - Click Continue to summary → Create Token
- Copy the token (Cloudflare shows it once)
- Paste into Cloudflare API Token field
- Don't save yet
Save your API token somewhere safe. Cloudflare only shows it once. If you lose it, generate a new one.
Activate webhook then Save
- Check the Enable Cloudflare Stream switch
- This activates Cloudflare as your active streaming provider
You need three things from Bunny.net:
1. Account API Key (required)
- Go to Bunny.net Dashboard
- Click your profile → Account Settings
- Go to API section
- Copy your Account API Key
- Paste into Account API Key field
2. Library ID (required)
- In Bunny dashboard, go to Stream
- If you don't have a library yet, click Add Stream Library and create one
- Open your Stream library
- Library ID is shown on the library page (it's a number like
12345) - Copy it. Paste into Library ID field.
3. Hostname (required)
- Still on your Stream library page
- Find the Hostname field
- Usually looks like
video.bunnycdn.comor your custom domain - Copy it. Paste into Hostname field.
If you set up a custom domain for your Stream library, use that instead of video.bunnycdn.com. Otherwise, use the default hostname.

Enable the provider:
- Check the Enable Bunny.net Stream checkbox
- This activates Bunny as your active streaming provider
Test Your Connection
After saving, click Test Connection button. I built this test. It's useful. Use it.
This verifies:
- API credentials are valid (I check if they work)
- Plugin can reach provider's API (network connectivity test)
- Account has necessary permissions (I make sure you can actually upload)
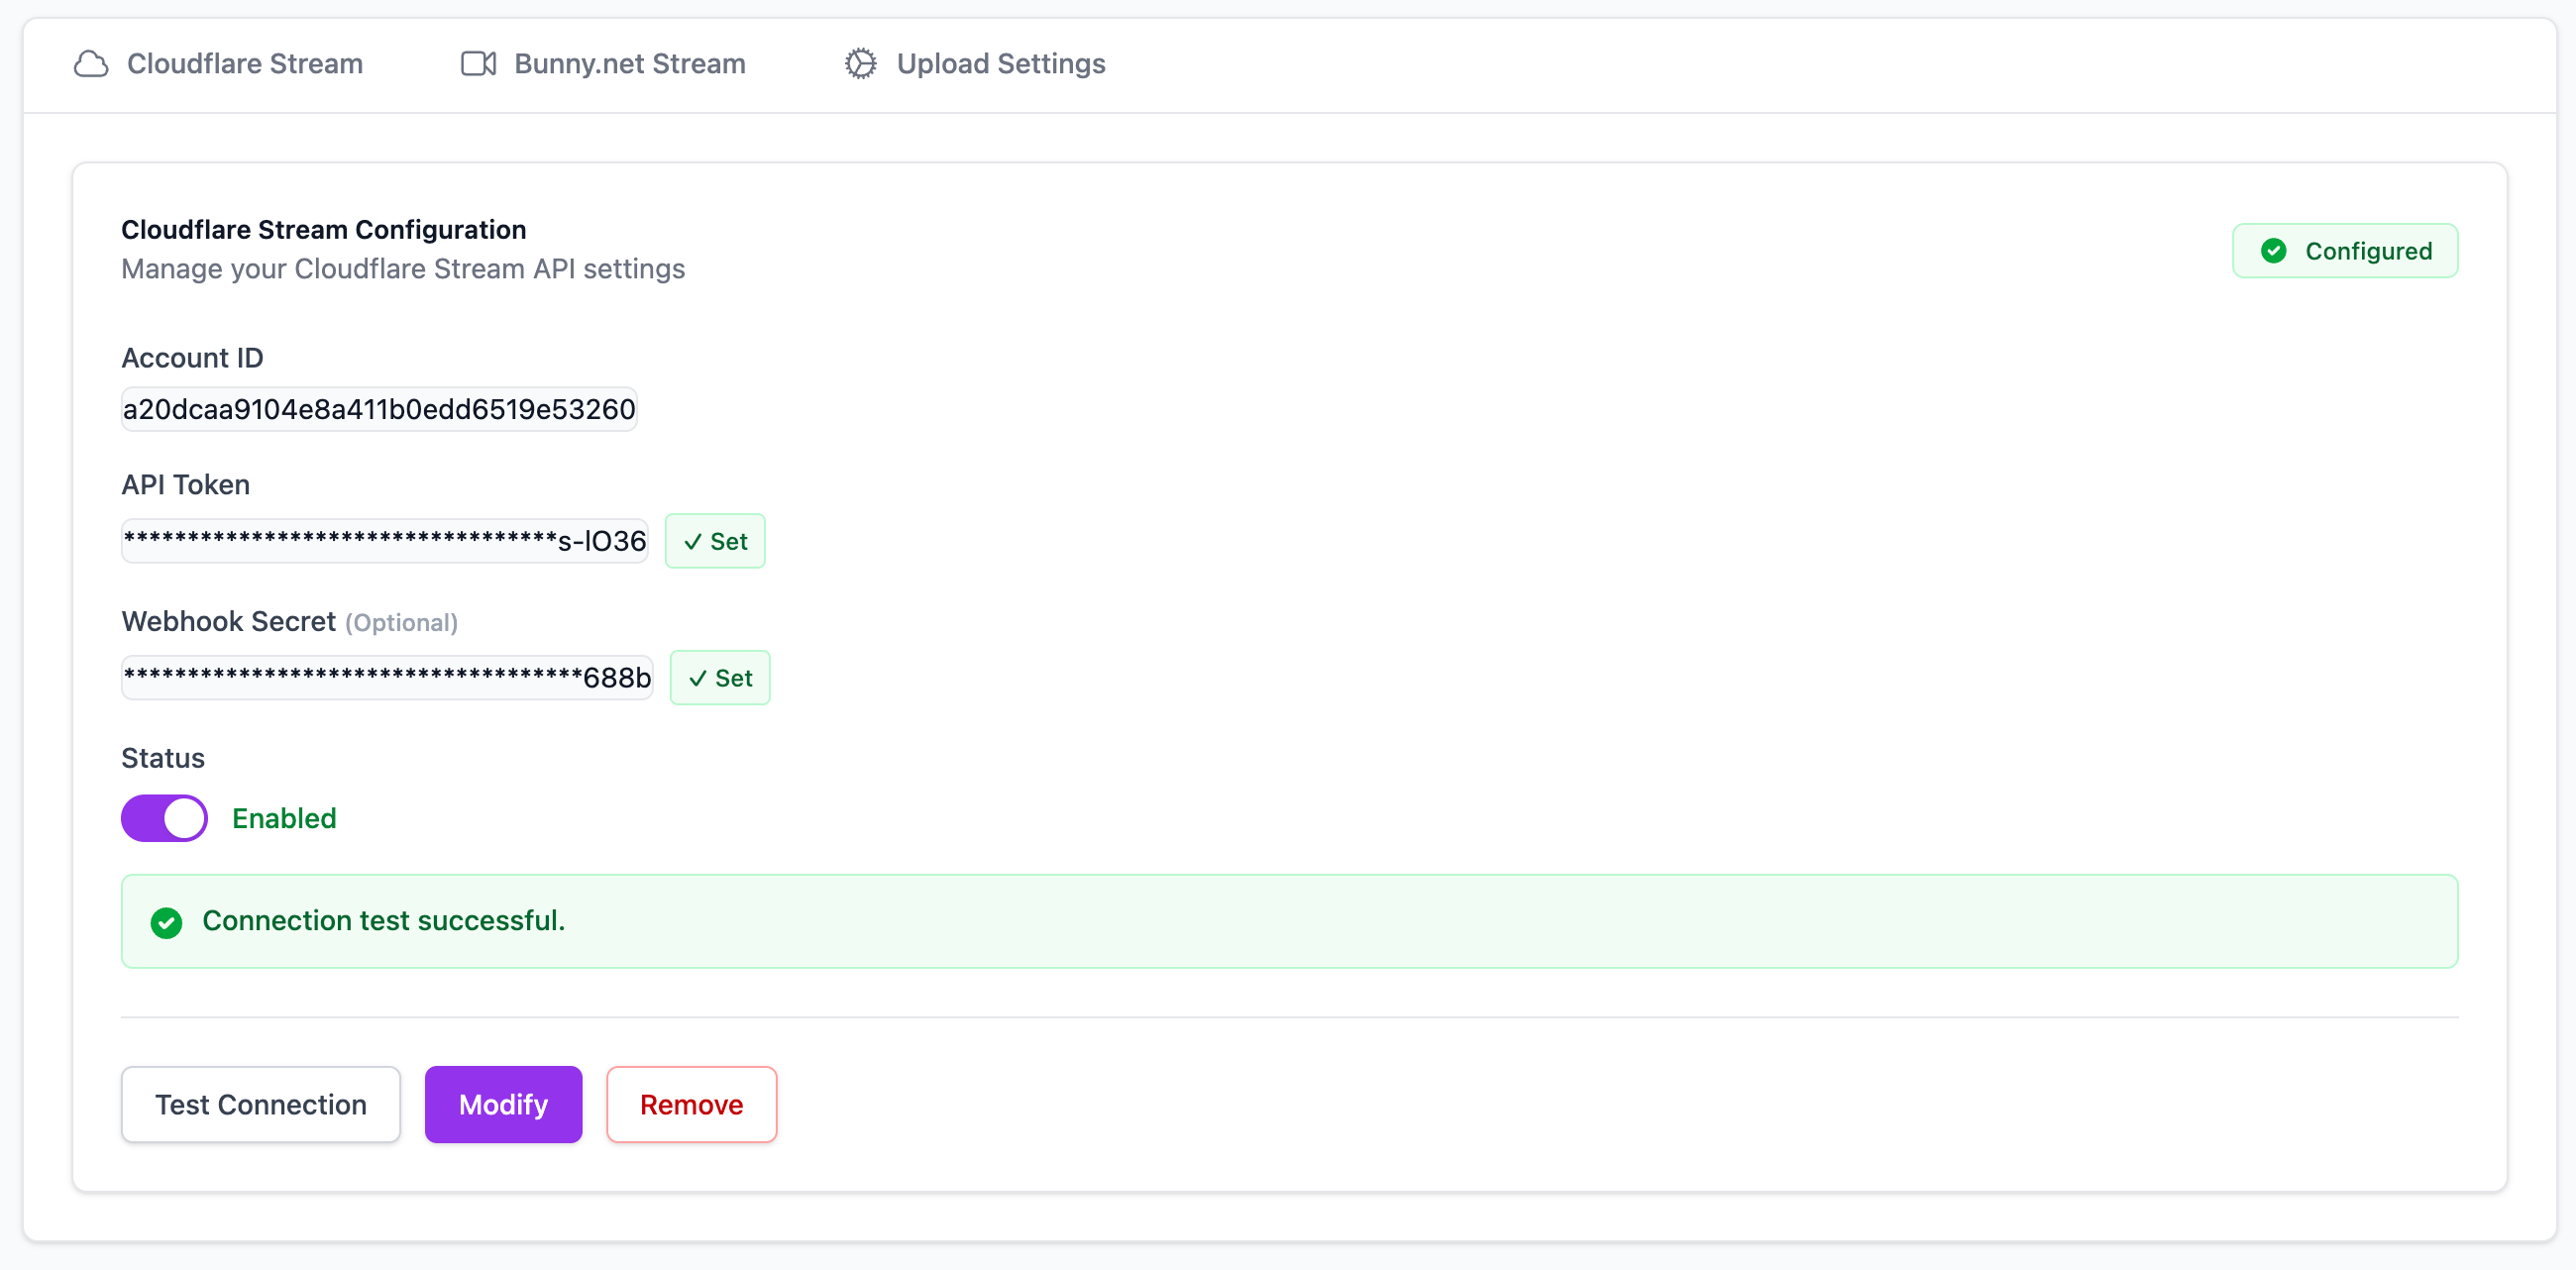
If test passes: You'll see a green success message. Congrats. You did it. Move to next step.
If test fails: Check for:
- Typos in Account ID / API Key / Library ID (copy-paste errors are common - I've done it)
- Wrong permissions on API token (provider dashboards are confusing - I know)
- Firewall blocking outbound HTTPS requests (server config issue, not my problem)
- Copy-paste added extra spaces (happens more than you'd think - I've seen it)
Configure Upload Settings
Now that provider credentials are saved, configure upload limits and permissions. This is where you decide how much chaos to allow.
Go to Upload Settings tab in FCHub Stream admin. It's a tab. You'll find it.

Test Video Upload
Time to make sure it works. Upload a test video. This is the moment of truth. Or the moment you realize you pasted the wrong API key. Either way.
- Go to your FluentCommunity (frontend - yes, the actual site, not admin)
- Create a new post (like normal, nothing fancy)
- Look for the video upload button (should appear in post editor - I inject it there)
- Click it or drag & drop a video file (desktop users get drag & drop, mobile users get button - that's how browsers work)
- Wait for upload to complete (progress bar shows status - I built this, it's accurate)
- Wait for encoding (streaming provider processes video - I don't control this, they do)
- Video player appears automatically
What Should Happen
Upload phase (10 seconds - 5 minutes):
- Progress bar shows upload percentage
- Video uploads directly to streaming provider
- WordPress server isn't involved (no PHP upload limits hit)
Processing phase (1-5 minutes):
- Streaming provider transcodes video
- Multiple resolutions generated (4K, 1080p, 720p, 480p, etc.)
- Status updates every 30 seconds (or your polling interval)
- "Processing..." indicator shows during this
Ready phase:
- Video player appears in post
- Users can watch video
- Adaptive streaming works (quality adjusts to connection)
If It Works
Congratulations. You're done. Video uploads work. Move on with your life. I'm proud of you. Seriously. You did it.
If It Doesn't Work
Something's broken. Check Troubleshooting for common issues:
- Upload fails immediately → Check API credentials (probably wrong, I've done it)
- Upload stuck at 0% → Browser JavaScript error, check console (F12 → Console tab - I don't control browsers)
- Upload completes but stays "processing" forever → Provider issue, check their status page (not my problem, theirs)
- Video plays but quality is potato → That's the source video, not the plugin (I can't fix bad source files)
What Now?
Your community can upload videos. They'll go to your streaming provider. They'll process automatically. They'll embed in posts and comments. It works. I built it. It works. That's the point.
Recommended Next Steps
How Uploading Works
Understand the upload process, user experience, and what happens behind the scenes
Advanced Cloudflare Setup
Webhooks, custom domains, analytics, and fine-tuning Cloudflare Stream
Advanced Bunny.net Setup
Collections, custom domains, and optimizing Bunny.net Stream
Manage Your Videos
View uploaded videos, check status, delete old content, monitor storage
Common Post-Setup Questions
People ask these. I answer them. Here's what you need to know:
"Do I need to configure webhooks?"
Not required. Webhooks speed up status updates when videos finish encoding. Without webhooks, plugin polls provider API every 30 seconds (configurable - I set the default, you can change it).
With webhooks: Video ready status updates in <5 seconds (faster, but requires setup) Without webhooks: Video ready status updates in ~30 seconds (slower, but works out of the box)
Most communities don't notice the difference. Set up webhooks if you want instant updates. Otherwise, skip it. I use polling. It works fine.
"Can users upload from mobile?"
Yes. Upload button works on mobile browsers. Drag & drop doesn't (mobile browsers don't support it - I don't control browsers). Users click upload button, select video from camera roll, upload proceeds normally. I tested this. It works.
"What happens if upload fails?"
Video doesn't get added to post. User sees error message. Original post draft is saved (text content preserved - I made sure of this). User can retry upload or post without video.
Common failures (I've seen these):
- File too large (exceeds max size - you set this, I just enforce it)
- Wrong format (not in allowed formats list - you configure this)
- Network timeout (slow connection - not my problem, network's problem)
- Provider API down (rare but happens - not my problem, provider's problem)
"Can I change providers later?"
Yes. Old videos stay on old provider (still work). New uploads go to new provider. Mixed setup until you migrate or delete old videos.
Migration process: Currently manual. Re-upload videos to new provider or delete old ones. Automated migration tool doesn't exist yet. Maybe someday. Depends on demand and my motivation levels. Open a GitHub issue if you need it.
"How do I monitor costs?"
Check your streaming provider's dashboard:
- Cloudflare: Dashboard → Stream → Usage & Billing
- Bunny.net: Dashboard → Billing → Usage Statistics
fchub-stream doesn't track costs. That's your provider's job. I don't control pricing. They do.
"Can I disable video uploads temporarily?"
Yes. Two ways:
Method 1: Disable provider in fchub-stream settings
- Go to Stream Configuration
- Uncheck "Enable [Provider]"
- Save
- Upload button disappears from posts/comments (I hide it when provider is disabled)
Method 2: Adjust upload permissions
- Go to Upload Settings
- Disable "Enable Upload from Portal"
- Save
- Users can't upload (admins still can in admin panel - I built this for flexibility)
Still Confused?
If these instructions didn't work or something's unclear (it happens, I've been there):
- Check system status in fchub-stream admin (shows plugin health, API connectivity - I built this for debugging)
- Read troubleshooting guide → Common Issues (I wrote this, it's helpful)
- Check browser console for JavaScript errors (F12 → Console tab - I don't control browsers, but errors show there)
- Verify FluentCommunity version (just kidding - but seriously, make sure it's installed)
- Test with different video file (maybe your test file is corrupted - I've seen it happen)
If nothing helps, open a GitHub issue. Include:
- WordPress version (I need this)
- FluentCommunity version (I need this too)
- fchub-stream version (check admin page)
- Streaming provider (Cloudflare or Bunny.net - I support both)
- Error messages (exact text - copy-paste it)
- Browser console output (F12 → Console - screenshot or copy-paste)
The more details you provide, the faster it gets fixed. Or ignored. Depends on coffee levels that week. I'm honest about this.
Direct support soon... (maybe, depends on demand and my time)